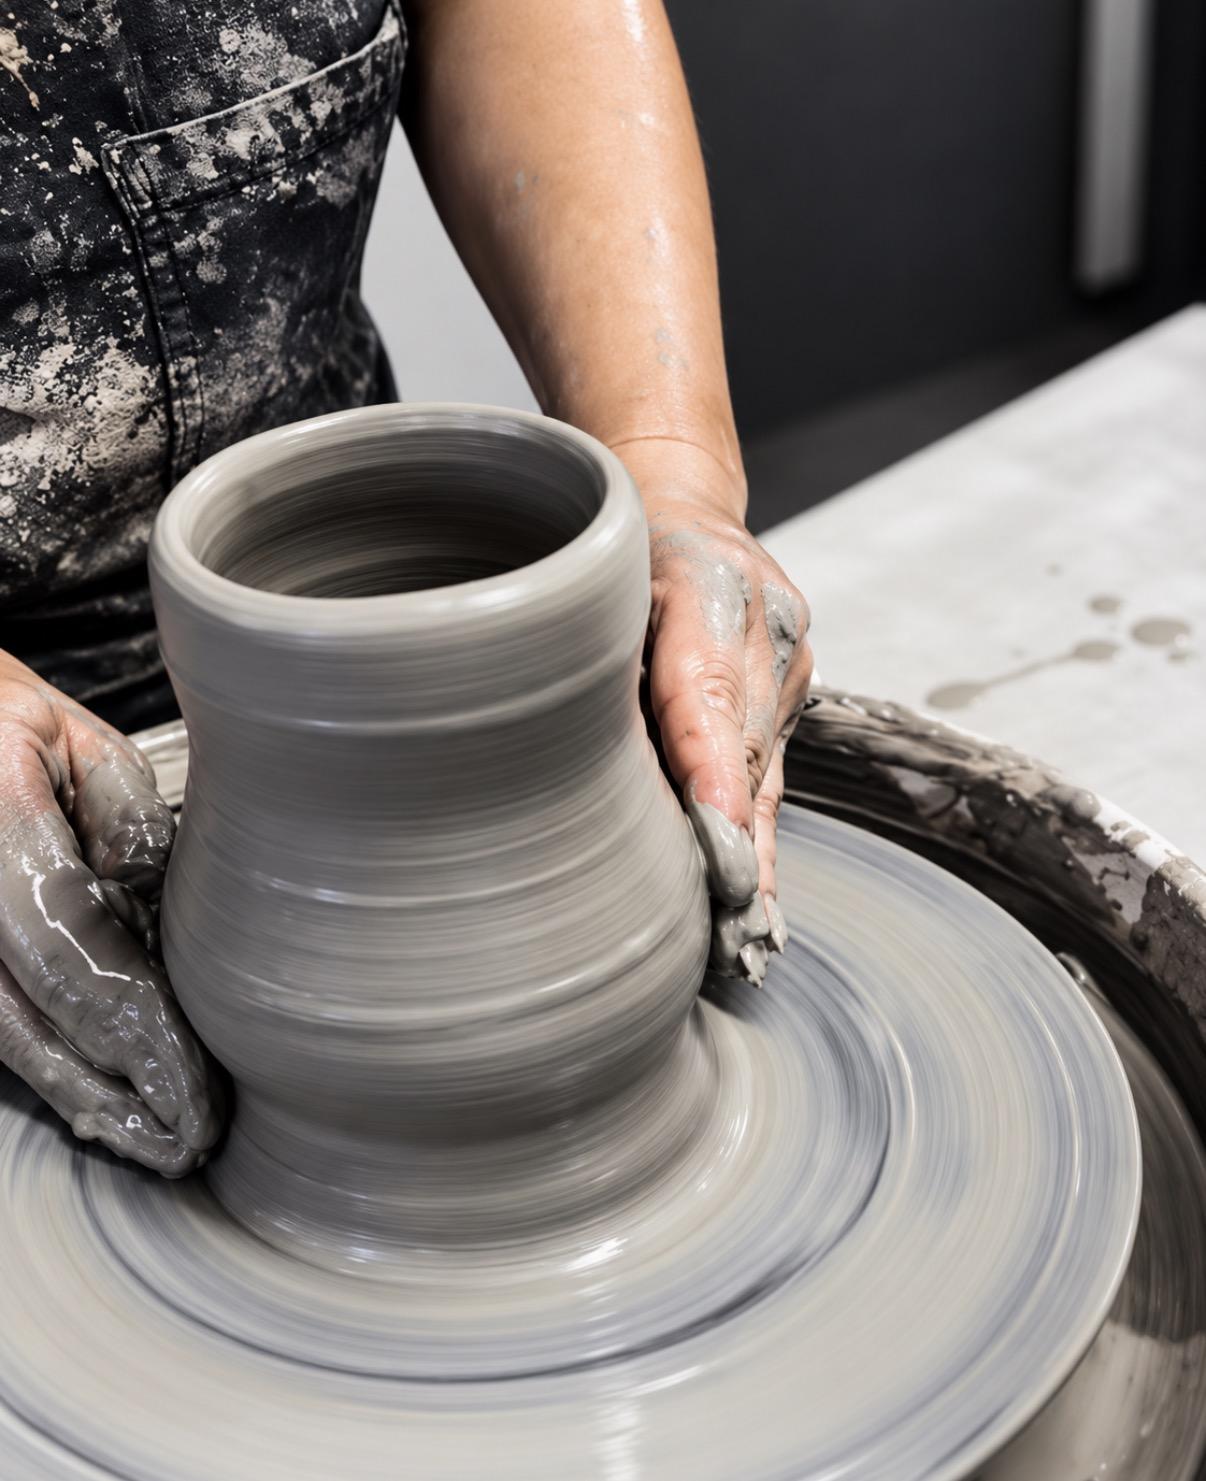
A handmade cup begins as a lump of clay and becomes a hollow vessel through a sequence of small, connected decisions. Learning that sequence is more useful than memorizing a single hand position.
This overview explains the process you are likely to practice in a beginner wheel class. Exact techniques vary by clay body, wheel direction, and instructor.
Learn It in the Studio
Make Something Yourself at Color Cocktail Factory
Explore cup creations on the wheel, select your studio or online session, and review current ticket and finishing terms before booking.
Explore Cup Creations on the Wheel →1. Prepare the clay and your posture
Wedging, when required for the clay you are using, helps make the material consistent. Attach a manageable ball firmly to the wheel head. Start with a quantity the instructor recommends rather than choosing the biggest lump available.
Sit so your arms can be supported and your body feels stable. Pottery is easier when pressure comes from a steady posture instead of hovering hands and tense shoulders.
2. Center before opening
With the wheel rotating at a controlled speed, use the instructor's recommended technique to bring the clay into the center. If it still rocks noticeably from side to side, opening it will be more difficult.
Once centered, press into the top to establish a hollow, leaving enough clay for a secure bottom. Check the depth instead of guessing. A thin floor can create a hole, while an overly thick floor can make the finished cup heavy.
3. Pull a short, stable wall
Use controlled pressure to guide clay from the base upward. Keep the movement continuous and avoid stopping abruptly halfway through a pull. A small increase in height with each pass is easier to control.
Do not chase tall sides on the first attempt. A short tumbler with an even wall teaches more than a thin cylinder that collapses before you can finish.
- Sponge away standing water when the instructor advises.
- Check the rim frequently for uneven thickness.
- Compress or refine the lip to make it comfortable.
- Use a rib only when the wall is stable enough to support it.
4. Refine, cut off, and allow to firm up
After shaping, refine the silhouette and rim. The vessel may need to be cut from the wheel head, allowed to reach an appropriate firmness, and trimmed before firing. Those stages often happen at different times rather than entirely during one beginner session.
If you want a handle, discuss whether the workshop includes one. Handle attachment usually requires compatible moisture and secure joining and is not automatically part of a one-session cup class.
5. Understand what makes it a ceramic cup
A freshly thrown cup is greenware, not a durable drinking vessel. The studio must dry and fire it appropriately; food-use suitability also depends on material and glaze choices.
Color Cocktail Factory's Cup Creations activity page provides the current Chicago and Eugene booking options and finishing information. Use it to connect the lesson with a real studio session.
Frequently Asked Questions
Is centering really necessary?
For ordinary symmetrical wheel throwing, centering is a fundamental step that makes opening and pulling more manageable.
How thick should the walls be?
There is no universal beginner measurement; the instructor can guide you based on clay, size, and design.
Does every cup need a handle?
No. Handle-free tumblers are common and can be comfortable when designed well.
Ready to Try It Yourself?
Visit the Cup Creations on the Wheel activity page to select an available session and review what is included in the current class.
Explore Cup Creations on the Wheel →