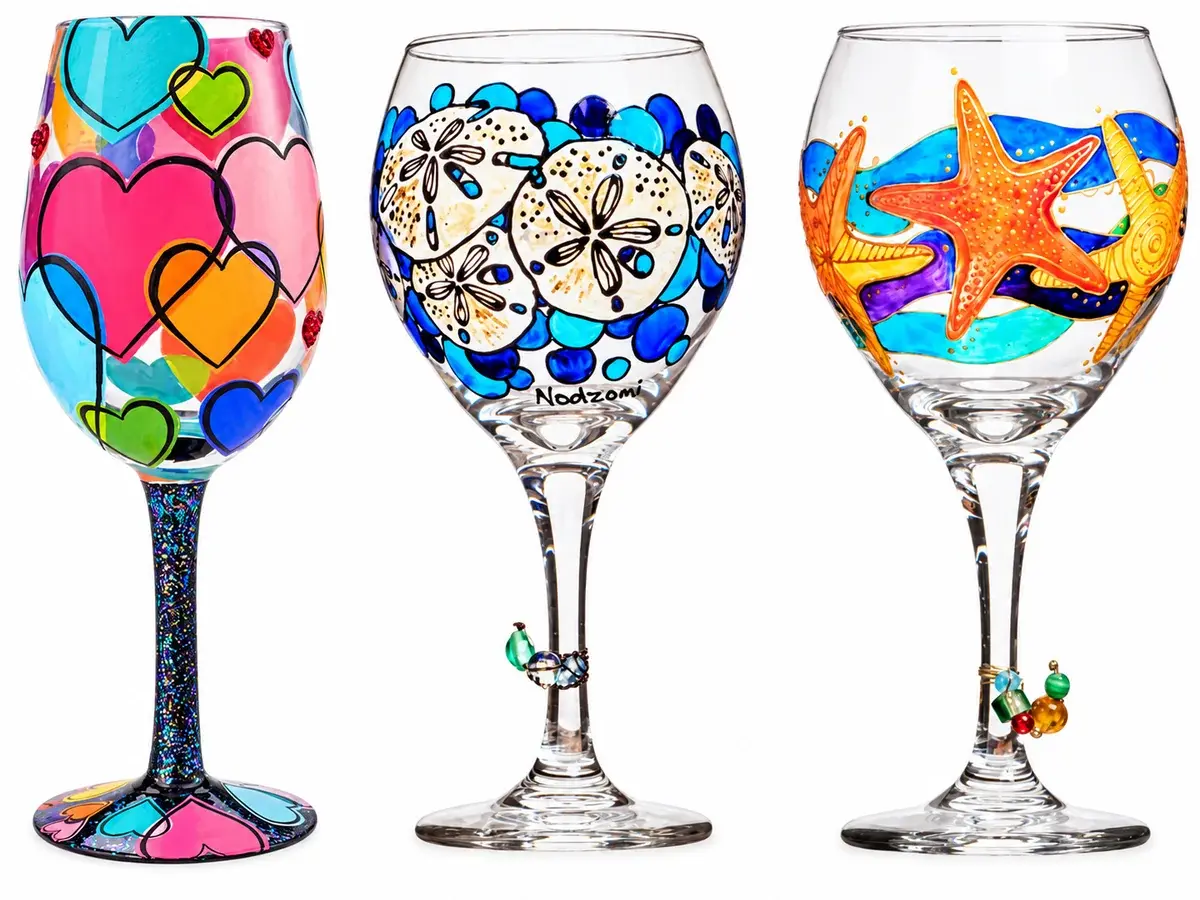
The difference between a glass that looks great on day one and one that survives regular handling is often surface preparation and the correct curing method, not advanced brushwork.
This guide explains the steps beginners can control without making promises that every paint or glassware combination performs the same way.
Learn It in the Studio
Make Something Yourself at Color Cocktail Factory
Explore wine glass painting, select your studio or online session, and review current ticket and finishing terms before booking.
Explore Wine Glass Painting →Choose materials for the surface, not just the color
Look for paints or markers explicitly intended for glass. Read the label for drying times, cure method, required ventilation, food-contact restrictions, and cleaning instructions. Ordinary craft acrylics may produce a design but are not interchangeable with specialty glass paints.
Choose a small round brush for dots and petals, a fine liner for stems or initials, and a broader brush for loose color blocks. A practice sheet or spare jar helps you learn the paint's thickness before touching your finished glass.
- Check the manufacturer’s glass compatibility and cure directions.
- Use a stable work surface and place the glass on a non-slip mat.
- Protect nearby surfaces and keep paint away from the drinking rim.
Prepare and plan the design
Wash the glass, remove residue, and dry it thoroughly. If the paint brand recommends a further cleaning step, follow that guidance. Handle the bowl by its stem or an unpainted area to avoid leaving fingerprints.
Sketch your design on paper first. On a curved surface, one strong focal motif is usually easier than wrapping a complicated scene all the way around the glass. Mark approximate positions with removable paper guides rather than permanent marks.
Paint in a sensible order
Start with the largest shapes, allow the required drying time, then add details. A dot pattern can be placed by rotating the stem; a floral spray is easier when the main stem is positioned first and leaves are added afterward.
Correct mistakes only as directed for the paint type. Smearing wet paint across the curve tends to enlarge an error, while some formulas allow careful removal before curing. Patience is a more useful tool than a heavy second coat.
- Allow separate colors to dry before overlapping them.
- Keep brush pressure light on curved glass.
- Inspect the design from every side before setting it aside.
Cure, clean, and use safely
Air-dry, oven-cure, and other products use different instructions. Never place painted glass in an oven unless both the paint and the glass are rated for the process. Do not invent a time or temperature from a generic tutorial.
After curing, care depends on the brand: some manufacturers allow specific washing methods, while others specify handwashing. Even durable exterior paint should not automatically be treated as safe for the lip, inside of the bowl, or contact with food and drink.
Frequently Asked Questions
Is any acrylic paint safe for wine glasses?
No. Use a paint whose manufacturer specifies compatibility with glass and follow its use and food-contact limitations.
Can I use my kitchen oven to cure the paint?
Only if the specific paint and glass are rated for that method and you follow the manufacturer’s instructions.
Should the paint go all the way to the rim?
Keep painted decoration away from areas that contact lips or beverages unless the product explicitly allows it.
Ready to Try It Yourself?
Visit the Wine Glass Painting activity page to select an available session and review what is included in the current class.
Explore Wine Glass Painting →